")
If you’ve been searching for a DIY oversized kids sandbox or a large backyard sandbox build, this tutorial is for you.
I’ll walk you step by step through my beginner sandbox woodworking tutorial so you can nail it. You’ll know exactly what tool to grab—like the miter saw, orbital sander, pocket hole jig—and what supply you need at each stage.
Why This Sandbox Project Rocks
This oversized kids sandbox project isn’t just filling a hole with sand.
It’s a chance to learn woodworking basics, like miter cuts, hidden joinery, and sanding—all while finishing a piece that looks professional and fun.
Plus, it doubles as a perfect outdoor play feature and conversation starter that will keep the kids entertained!
Hot Tips for This Project:
- If you want the biggest possible sandbox , these plans are how you can build one. No kid’s sandbox plans I found online were this big or sturdy. You’re welcome.
- It’s optional… but adding the mitered angle frame creates a wayyyyy more polished look.
- Follow along step‑by‑step for the most stress free build possible.
Tools & Supplies You’ll Need
Here’s everything you’ll use—and exactly where in the process you will need it:
- Measuring Tape – layout board lengths and angles
- Miter Saw – for clean, angled cuts
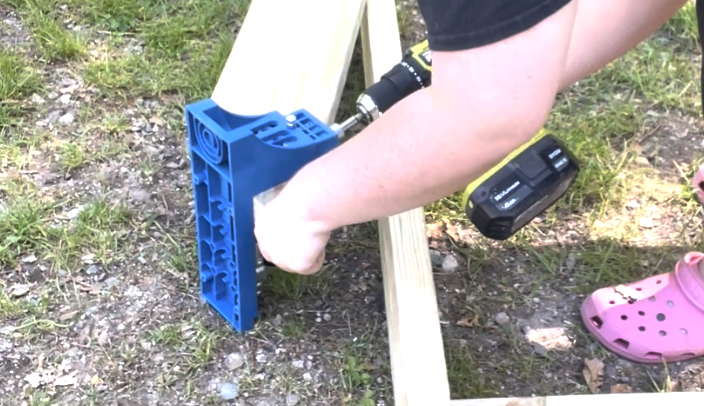
- Pocket Hole Jig – hidden fastening for corner joins (OPTIONAL & NOT NEEDED)
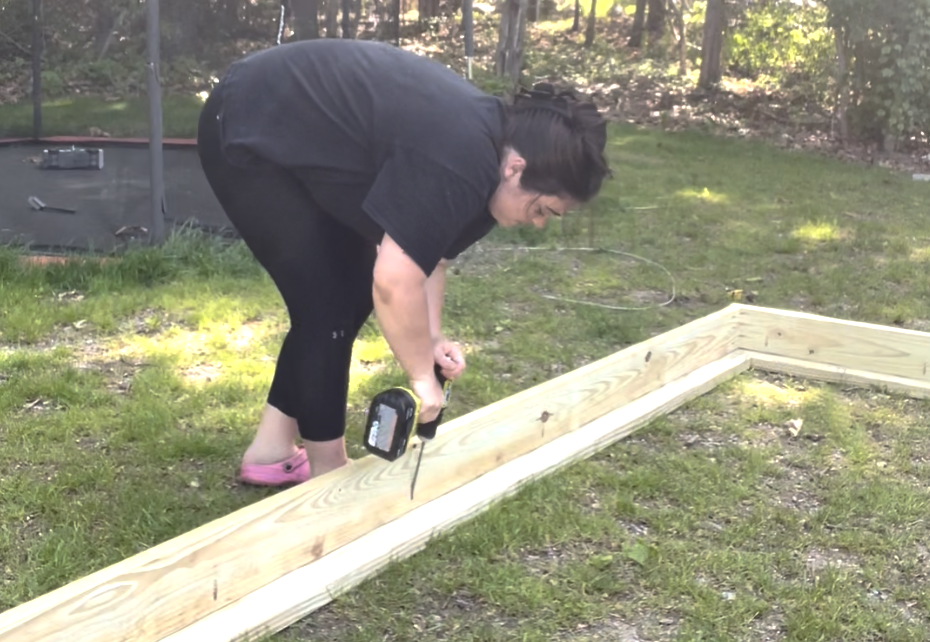
- Cordless Drill + Driver Combo – driving screws and pocket holes
- Wood Screws (2″) – secure frame and shelves
Step 1 : Layout and Prep
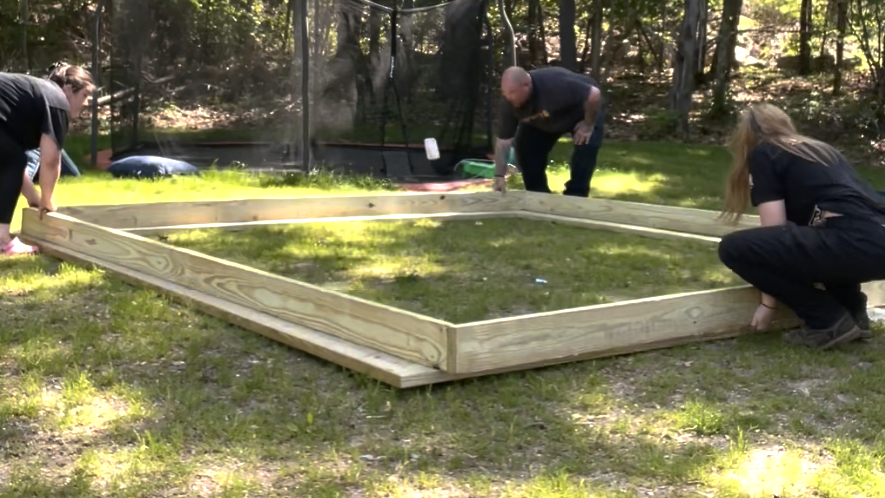
Start by marking and cutting four 12’ pressure treated boards down to 11’ for your base and four for the top angled frame.
Next lay them out in the shape of a square and screw them all together.
Like I mentioned above, this part is optional BUT , if you want to hide the screws – go ahead and use a pocket hole jig to assemble this.
BEGINNER HOT TIP: Label each board (Base A, Base B, Top Frame A/B) to avoid mix-ups later.
Step 2 : Mitered Corner Angles
Now remember when I said these mitered corners were the key to making this look really polished? Here is exactly how you create those pretty corners!
Start by placing your four top boards flat on top of the base. Mark with your pencil where the boards for the top will overlay on top of the corners of the base.
Go ahead and adjust the miter saw to 45° and then cut both ends of your boards.
This is KEY! Test‑fit boards in a rectangle for snugness. This is where you can catch any possible mistakes before you actually attach them to the sandbox!
Here’s a lil’ bonus hot tip for y! Sand your edges lightly before assembly for super crisp miters.
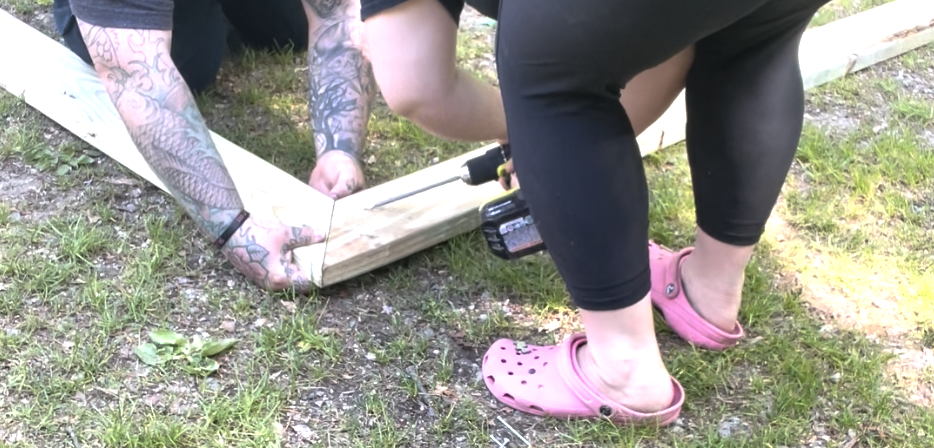
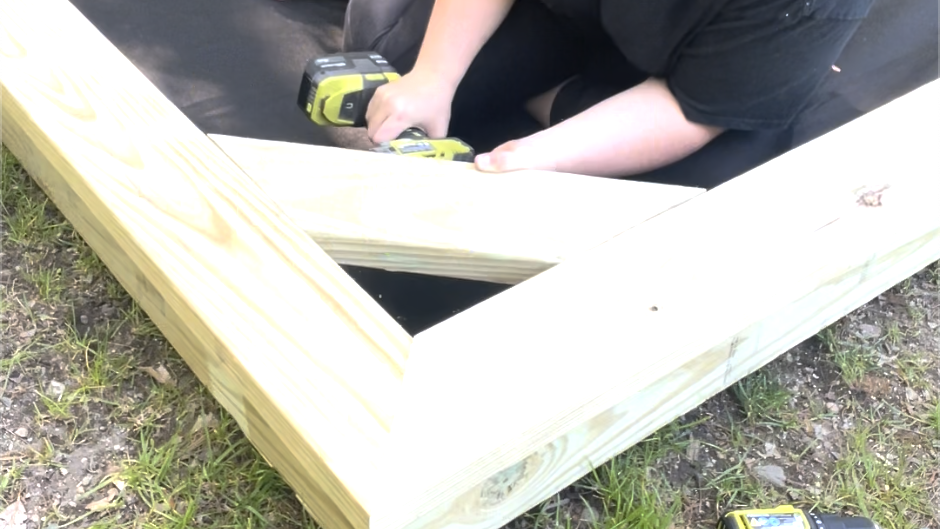
Go ahead and use the pocket hole jig again on the same side of each board and screw the mitered corners together.
Lastly , flip the top frame over, fit the mitered frame over base and secure with 2″ screws through frame into base, evenly spaced for extra style points.
Or – you can drill pocket holes from the base upward if you want to hide the screws.
HOT TIP: If you’re not using pocket holes – counter‑sinking creates smoother top surfaces that feel polished and safer for little hands.
Step 3 : Angled Shelf Seats Trick
Here’s the genius part of this build ( if I do say so myself)!
I added angled “shelves” from leftover cuts of wood inside the corners that make perfect seats or storage.
Just measure the inside diagonals of each corner and cut leftover boards to length.
Also you are gonna need to miter both ends to match the corner angles. Then just dry‑fit and screw them in place with pocket hole jig! Ta-da! Shelf/Seat/Storage magic!
Step 4 : Sanding Your Sandbox Smooth
My go to formula for sanding anything silky smooth?
- Start with 80‑grit to remove saw marks.
- Move to 120‑grit for smoothing.
- Final pass 220‑grit for silky finish.
HOT TIP: Sand with the grain, and check for splinters along edges—kids’ hands will thank you.
Step 5 : Seal, Stain, and Weather Protection
Since this box will be far too big to move around and pull out of the elements, you are definitly gonna wanna add some kind of sealer or finish to help protect it from all kinds of weather.
Don’t worry, this is as simple as using a paintbrush to apply a thin coat on top! I would suggest waiting 5 minutes, then wipe the excess with a shop rag. Also I would definitely let it dry at least 24 hours in shade if possible—extreme temps can cause uneven drying.
TBH...I did this project two years ago and I still haven’t stained mine… so please don’t be me.
Sandbox FAQ‘s
Q: Can I use untreated pine instead of pressure-treated wood?
A: You can, but untreated pine will degrade faster. Use PT lumber to last longer.
Q: Is sanding with 220-grit really necessary?
A: Yes—120‑grit smooths, but 220‑grit gives a safer, splinter‑free finish, ideal for little fingers.
Q: Can I skip miter cuts and keep square corners?
A: Absolutely. You’ll lose the stylized angled look, but square butt joints are simpler.
Q: How much sand will this box hold?
A: Calculate volume: length × width × depth in inches ÷ 1728 = cubic feet, then multiply by approx. 80 lb/cu ft for sand weight.
Q: Do I need a sandbox cover?
A: Recommended—for keeping out animals and debris. Grab a big tarp like this.
Q: Can I add drainage holes?
A: Sure! Drill ½″ holes in the bottom, spaced ~6″ apart, to prevent standing water.
Q: Are pocket hole jigs essential?
A: No, but they add serious strength and invisible joinery.
If you have any other questions on this project that I didn’t answer , please lemme know and I will be sure to help you the best that I can!
Or if you decide to try this build I would LOVE to hear how it went! So come back and lemme know in the comments below!
And if you wanna get more DIY ideas, you can keep binging the blog!
DIY
Storage
DIY


binge the favorites
SHOP ALL FAVORITES →
Could Not Function Without This Digital Lifesaver...
Literally Would Live in a Pigsty Without This ...
I Wear These
( Almost ) Every Day...
sanity savers
Follow AlonG ↓
I’m all about keeping it real with my hair a glorious mess, rocking my favorite sweats, and ready to share it all...
the good, the challenging, and the downright ridiculous.

Leave a Reply