")
Are you looking for a fun, easy way to make your home extra ( and adorably ) spooky this Halloween?
Well, here’s a really fun DIY Halloween welcome mat you can make that is perfect for beginners! ( and kids!! My kiddos LOVED making this with me!)
My favorite part of this DIY is how customizable it is! You can truly design yours ANY way you want! Lemme show you how!
What You’ll Need
- Doormat
- Scissors
- Paper
- Paint – Preferably fabric or outdoor paint but honestly whatever paint you have will work!
- Paintbrushes
- Tape
- Sealer
Step 1. Create Your Stencil
Start by grabbing your paper. Draw your shape on the paper. I decided to go with cute little ghosts but you can make whatever shape you would like!
Once you’ve drawn your ghost, carefully cut it out with your scissors. This will be your stencil.
I recommend creating a few different sizes or variations of whatever you decide to go with. This will make it easier to lay out your design on your mat and to fill in different sized spaces.
HOT TIP: If you ARE going with ghosts… an adorable idea I wish I had done was taking my kids feet and using them as the outline for my ghosts to make it even more personalized! So feel free to steal this idea!
Step 2. Position the Stencils on the Mat
Now it’s time to lay out your design on your mat! I played around with my different sized stencils until I got them placed exactly where I wanted them.
Once I had my design I used paint and a small paint brush to trace around my stencil. If you are struggling with your stencils moving on you, you can use some tape to hold them in place while you trace them.
Step 3. Paint Your Ghosts
Now that you have your design stenciled out, it’s time to fill them in!
This was really fun and therapeutic, but you may have to go over your designs a few times in order to really cover the mat.
Step 4. Add Extra Details
Once your designs have dried, this is when you can go back over them and add extra details.
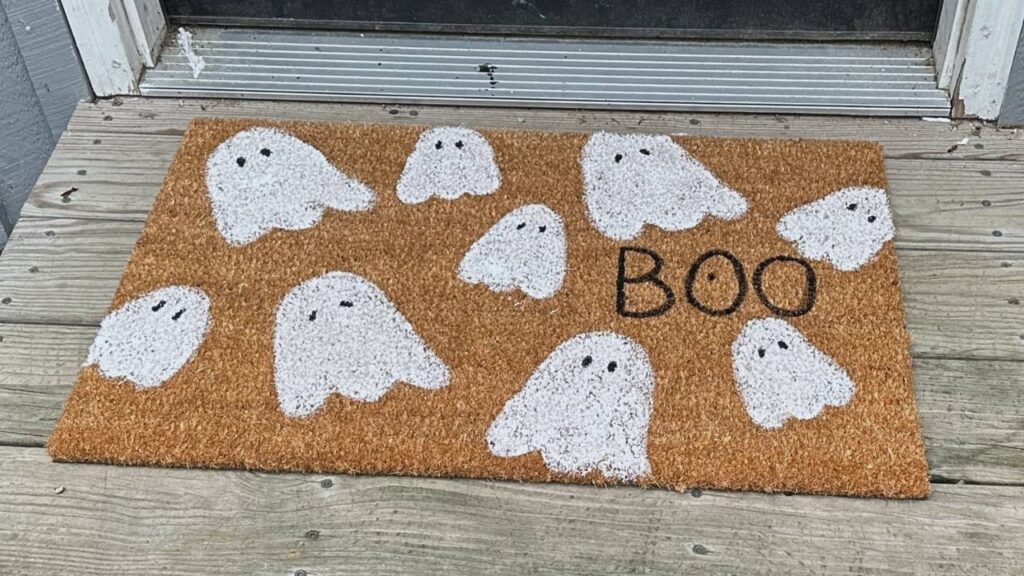
For example, I went back and added little eyes to my ghost shapes. Maybe you want to go back and add stems and leaves to your pumpkins. Or maybe add a fun spooky phrase like “ boo!”
Step 5. Let Dry & Seal
Once you have completed your design , details and all, let your mat dry completely.
If you’re worried about paint rubbing off with wear, you can spray a clear acrylic sealant over the design. This will protect it from the elements and keep your Halloween welcome mat looking fresh for the entire season.
FINAL HOT TIP: Like I mentioned at the beginning, you can totally customize this project! You can add other Halloween-related phrases like “Enter if you dare” or “Trick or Treat”. Or maybe even save this project to create a version for different occasions and seasons! The possibilities really are endless!
This Halloween welcome mat has been such a fun addition to our home this spooky season! And I really hope you and your kiddos love this project as much as we do! If you did, you can find more fun seasonal crafts and DIY’s here!
And you can watch this entire project over on YouTube! ↓
Watch On YouTube
DIY
Storage
DIY


binge the favorites
SHOP ALL FAVORITES →
Could Not Function Without This Digital Lifesaver...
Literally Would Live in a Pigsty Without This ...
I Wear These
( Almost ) Every Day...
sanity savers
Follow AlonG ↓
I’m all about keeping it real with my hair a glorious mess, rocking my favorite sweats, and ready to share it all...
the good, the challenging, and the downright ridiculous.

Leave a Reply